Boost your message with Easy Display, the straightforward digital signage solution for Windows PCs. Easy Display lets you control and send content to any screen connected to your computer with just a few clicks. Whether it’s in a shop window, a classroom, or a company lobby, you can display images, videos with ease. The application is designed to be easy to use, so you can drag, drop, and display without the tech headaches. Keep your audience informed and engaged with Easy Display, the smart choice for delivering your content where it counts.
Discover the latest in digital display technology with Easy Display Version 2 now available. This upgraded Windows PC application is on-going developments, offering new features and enhancements regularly. The new version invites users to experience the evolving capabilities first-hand, providing a simple yet powerful tool for your display needs. Get a glimpse of the future of digital signage and contribute to shaping its development with Easy Display Version 2.
Easy Display Version 2 now supports seamless display of images, PowerPoint presentations, and video files across your connected displays, maintaining a single sound source as in the previous version. We’ve revamped content organization for simplicity; the playlist concept has transformed into a user-friendly folder-based system. Just place your files in a folder in sequential order (e.g., 1, 2, 3…) and upload it to Easy Display. Additionally, Version 2 continues support for screen detection changes, making your digital signage setup even more intuitive.
Exciting plans are in motion to integrate a calendar feature into Easy Display Version 2, designed to provide exact scheduling options for your digital signage content. We invite you to join us on this innovative journey, shaping the future of digital displays together. Let Easy Display Version 2 revolutionize your communication strategy with its broadening functionalities.
Getting Started
ScreenView
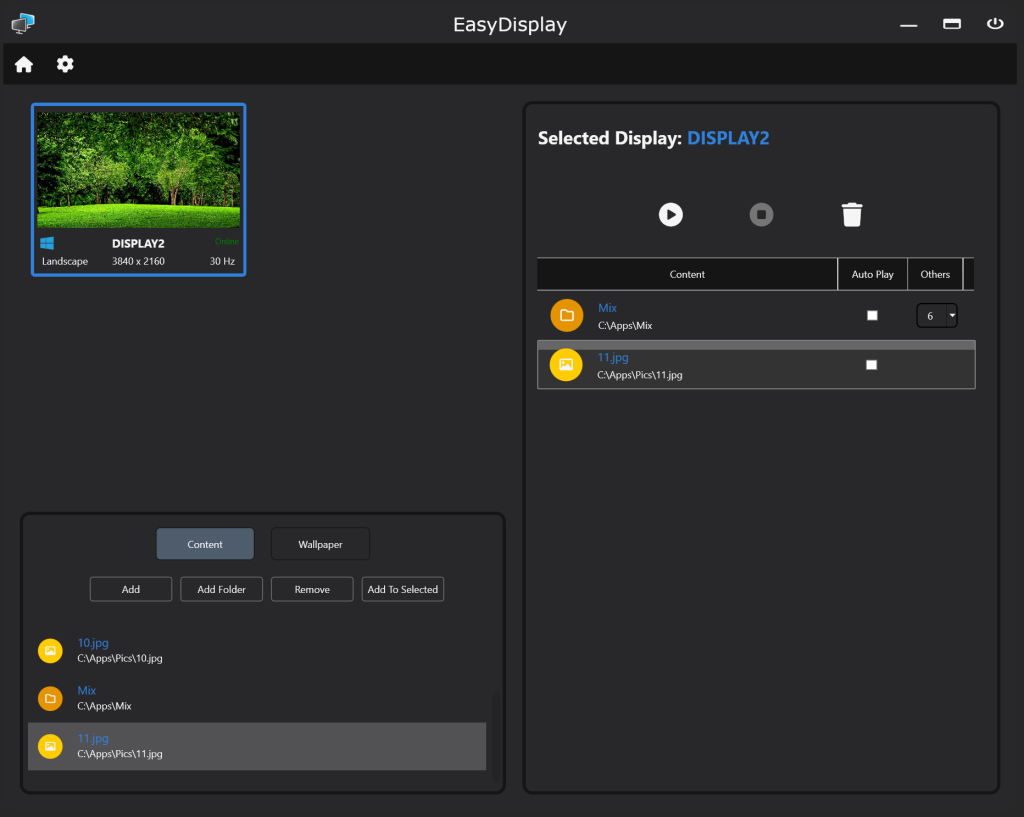
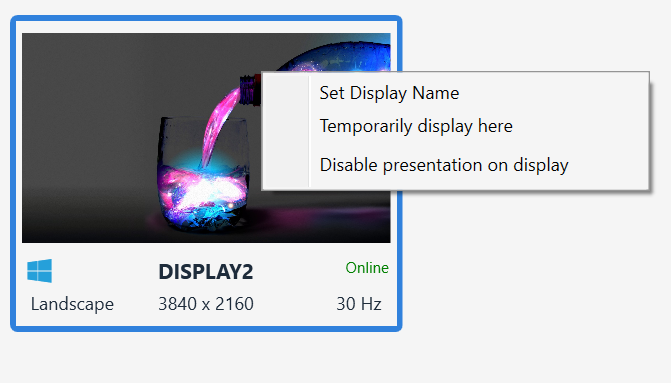
The ScreenView feature displays useful information such as status, orientation, resolution, and frequency. By right-clicking on a ScreenView, you can easily rename it, display its content temporarily on the main display for 30 seconds, or disable presenting on that specific display. This functionality offers flexibility and control over how and where your content is shown.
Content
Adding content to Easy Display Version 2 is a breeze. Follow these simple steps under the Content tab:
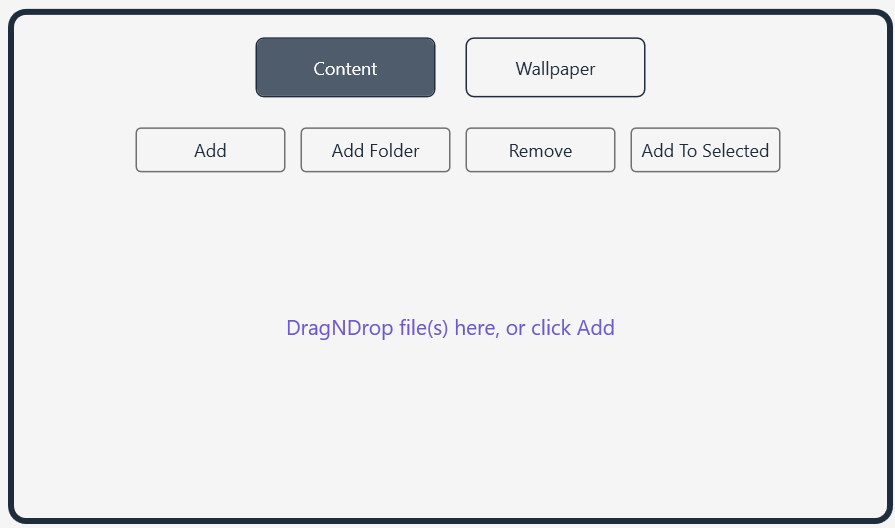
- Drag and drop your image, PowerPoint, or video file(s) directly into the designated area.
- Alternatively, click the ‘add’ button to browse and select specific file(s) manually.
- To add an entire folder, click ‘add folder’. The system will play the files in order based on their names, so be sure to name them sequentially (e.g., 1, 2, 3…).
Once all content is added, select the correct display, select the content and click add to selected. These easy-to-follow steps ensure you can quickly populate your digital signage with the content you need.
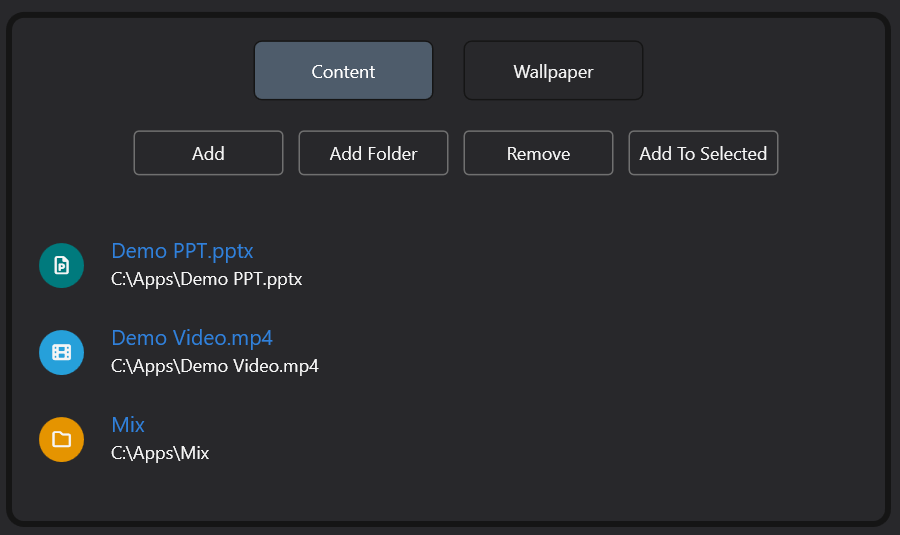
Removing content is just as simple. Simply select the content you wish to remove and click the ‘remove’ button. Please be aware that removing content will also delete it from the playlist of any individual display it was assigned to. This ensures your digital signage displays only the content you currently want to be shown.
Playing Content
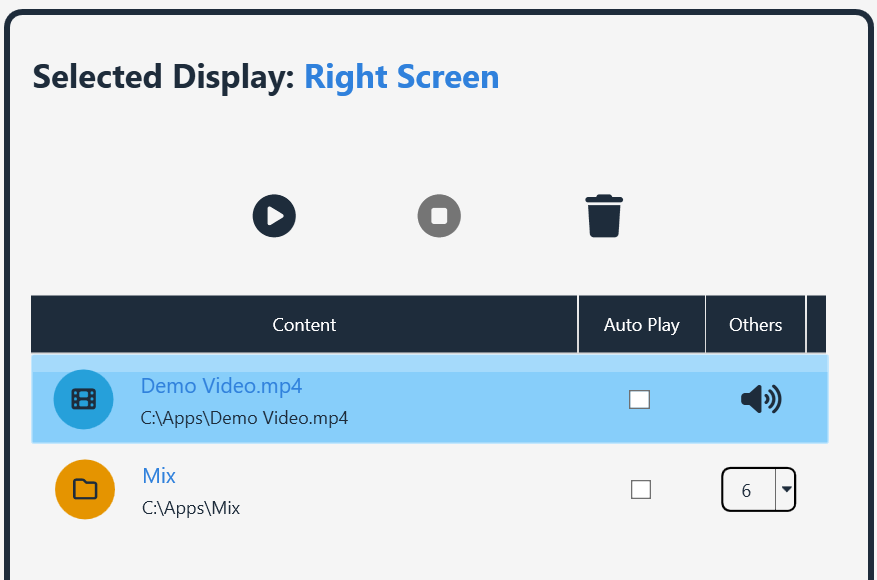
After adding content, you can start playing it by selecting a content item and clicking the ‘play’ button. As an alternative, you can double-click on any content to begin playback. For video files, you’ll have the option to turn the sound on or keep it muted. If you’re using a folder, you can set how long each element is displayed before rotating to the next; the default interval is 6 seconds. Additionally, the AutoPlay feature allows an item to start automatically when the application launches. Only one item can be set to AutoPlay at a time for simplicity and focus.
To remove an item from a display’s playlist, simply select the item and click the ‘trash’ button. Keep in mind that each display maintains its own playlist, allowing for tailored content management across different screens.
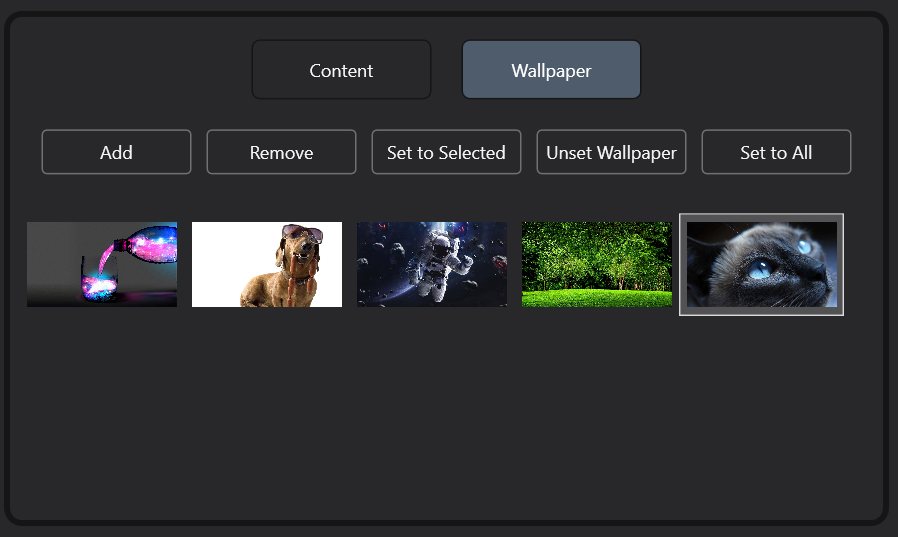
Wallpaper
Setting a background wallpaper is just as straightforward. You can either drag and drop your file(s) into the application or click ‘add’ to browse and select them. Once your files are in, simply select an item to apply it as the wallpaper for a specific display, or choose to set it for all displays. If you need to remove a wallpaper, clicking ‘unset’ will take it off the selected or all displays.
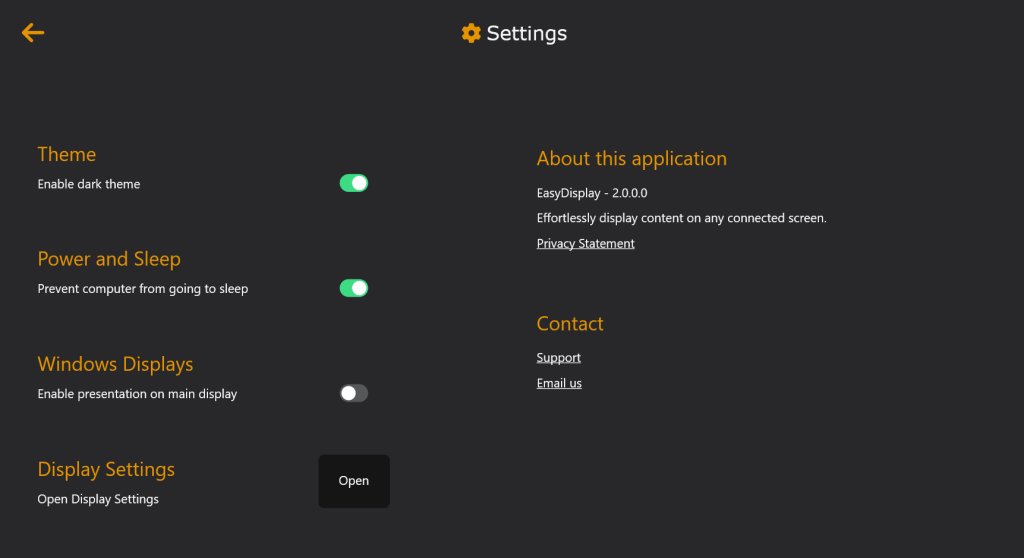
Settings
Within the Settings, you have the flexibility to customize your experience with features that include:
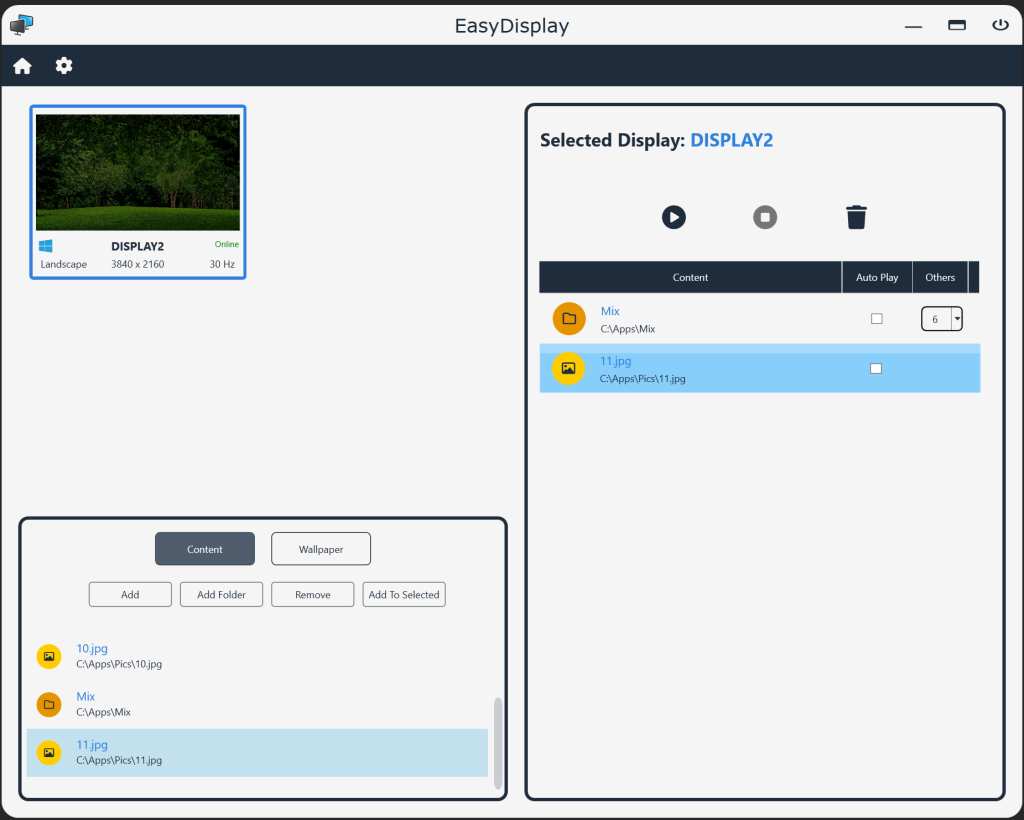
- Choosing between Dark or Light themes to match your preference.
- Preventing the computer from going to sleep, ensuring continuous display without interruptions from Windows sleep or user lock features.
- Enabling presentations on the primary display, a handy option for using a laptop or any single-display setup.
- Accessing various other options such as emailing us with suggestions, questions, or comments to help improve your experience.
These settings are designed to enhance your use of the application, making it more adaptable to your specific needs.
